Singe Quill by We R Memory Keepers on Balsa Wood with the Cricut Maker-Come Craft with ME!
Have you ever thought to yourself.....Wow that wood burning sure looks cool and I have this cool cutting machine that can make any image on wood. I also bought a kit like 2 years ago that I need to try. LOL Well I was cleaning my craft room and you know how that goes. You find some cool stuff! I found this kit for the singe quill by we r memory makers and its so cool.
So I tried it today with my Cricut Maker. This kit will work on the Silhouette Cameo as well.
I bought the Singe Quill kit, it came with wood and the singe pen and any adapters for your pen housing if you need them. Cool thing, is the Maker just takes the pen and you don't need an adapter.
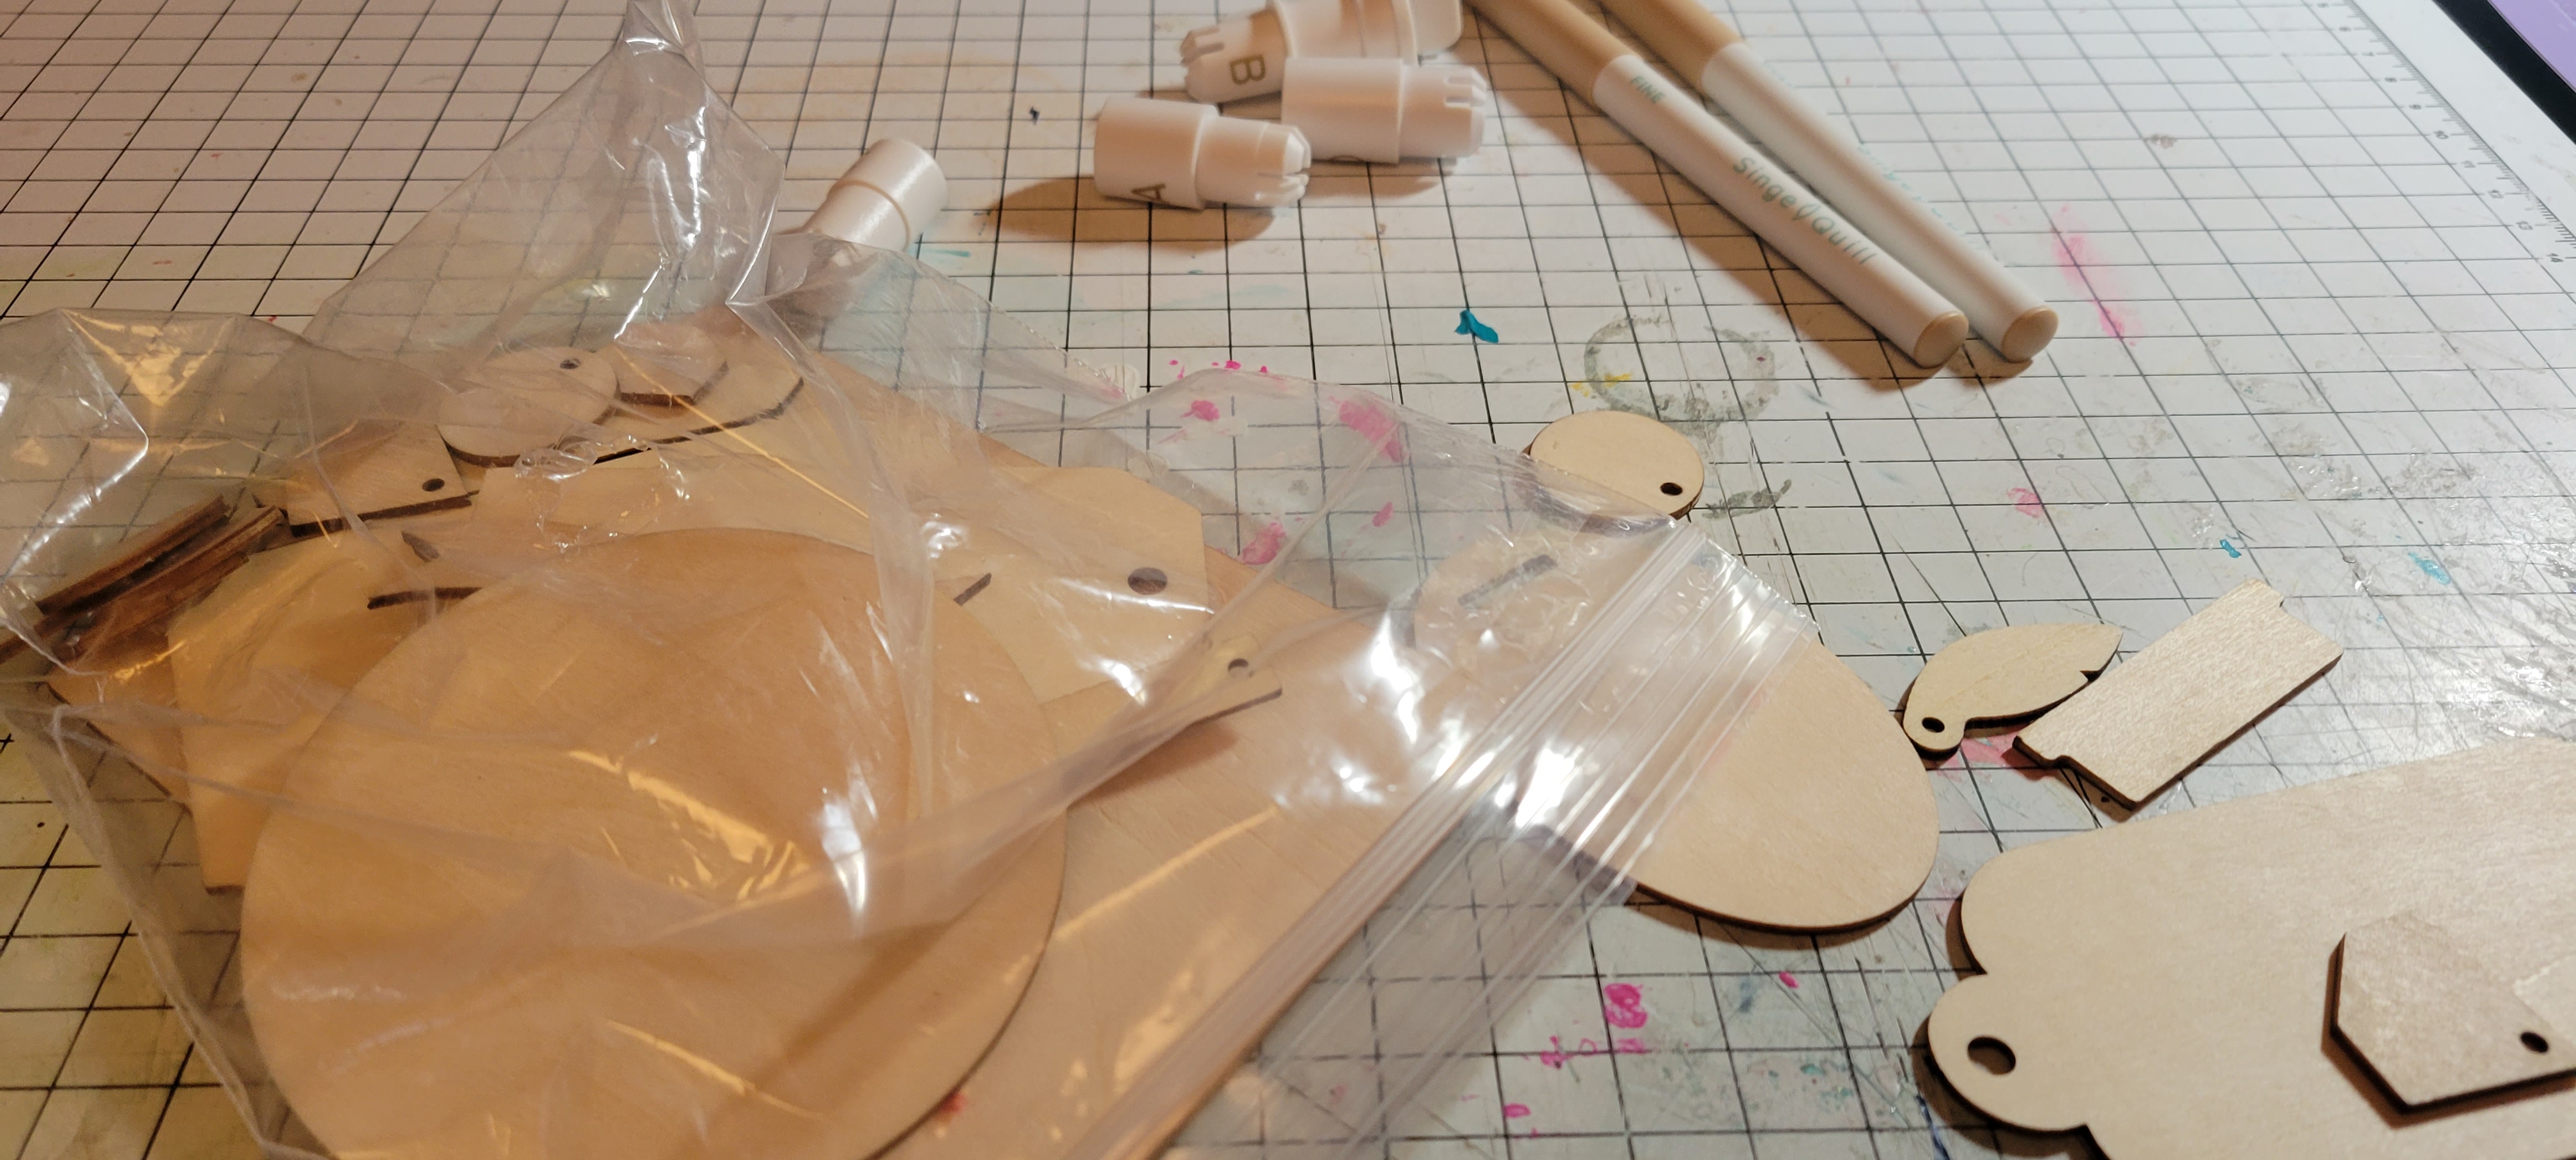
I designed my image and put it on my canvas in the exact area I needed. Put my wood on the strong grip mat and taped it down with painters tape. Remember where you put it because Cricut moves your images around to save spaces on your cutting mat. You will need to move the image afterward to the exact spot your wooden pc is at. I found that it helped to attach your image so that individual letters are not moved around and your image is moved in one pc.


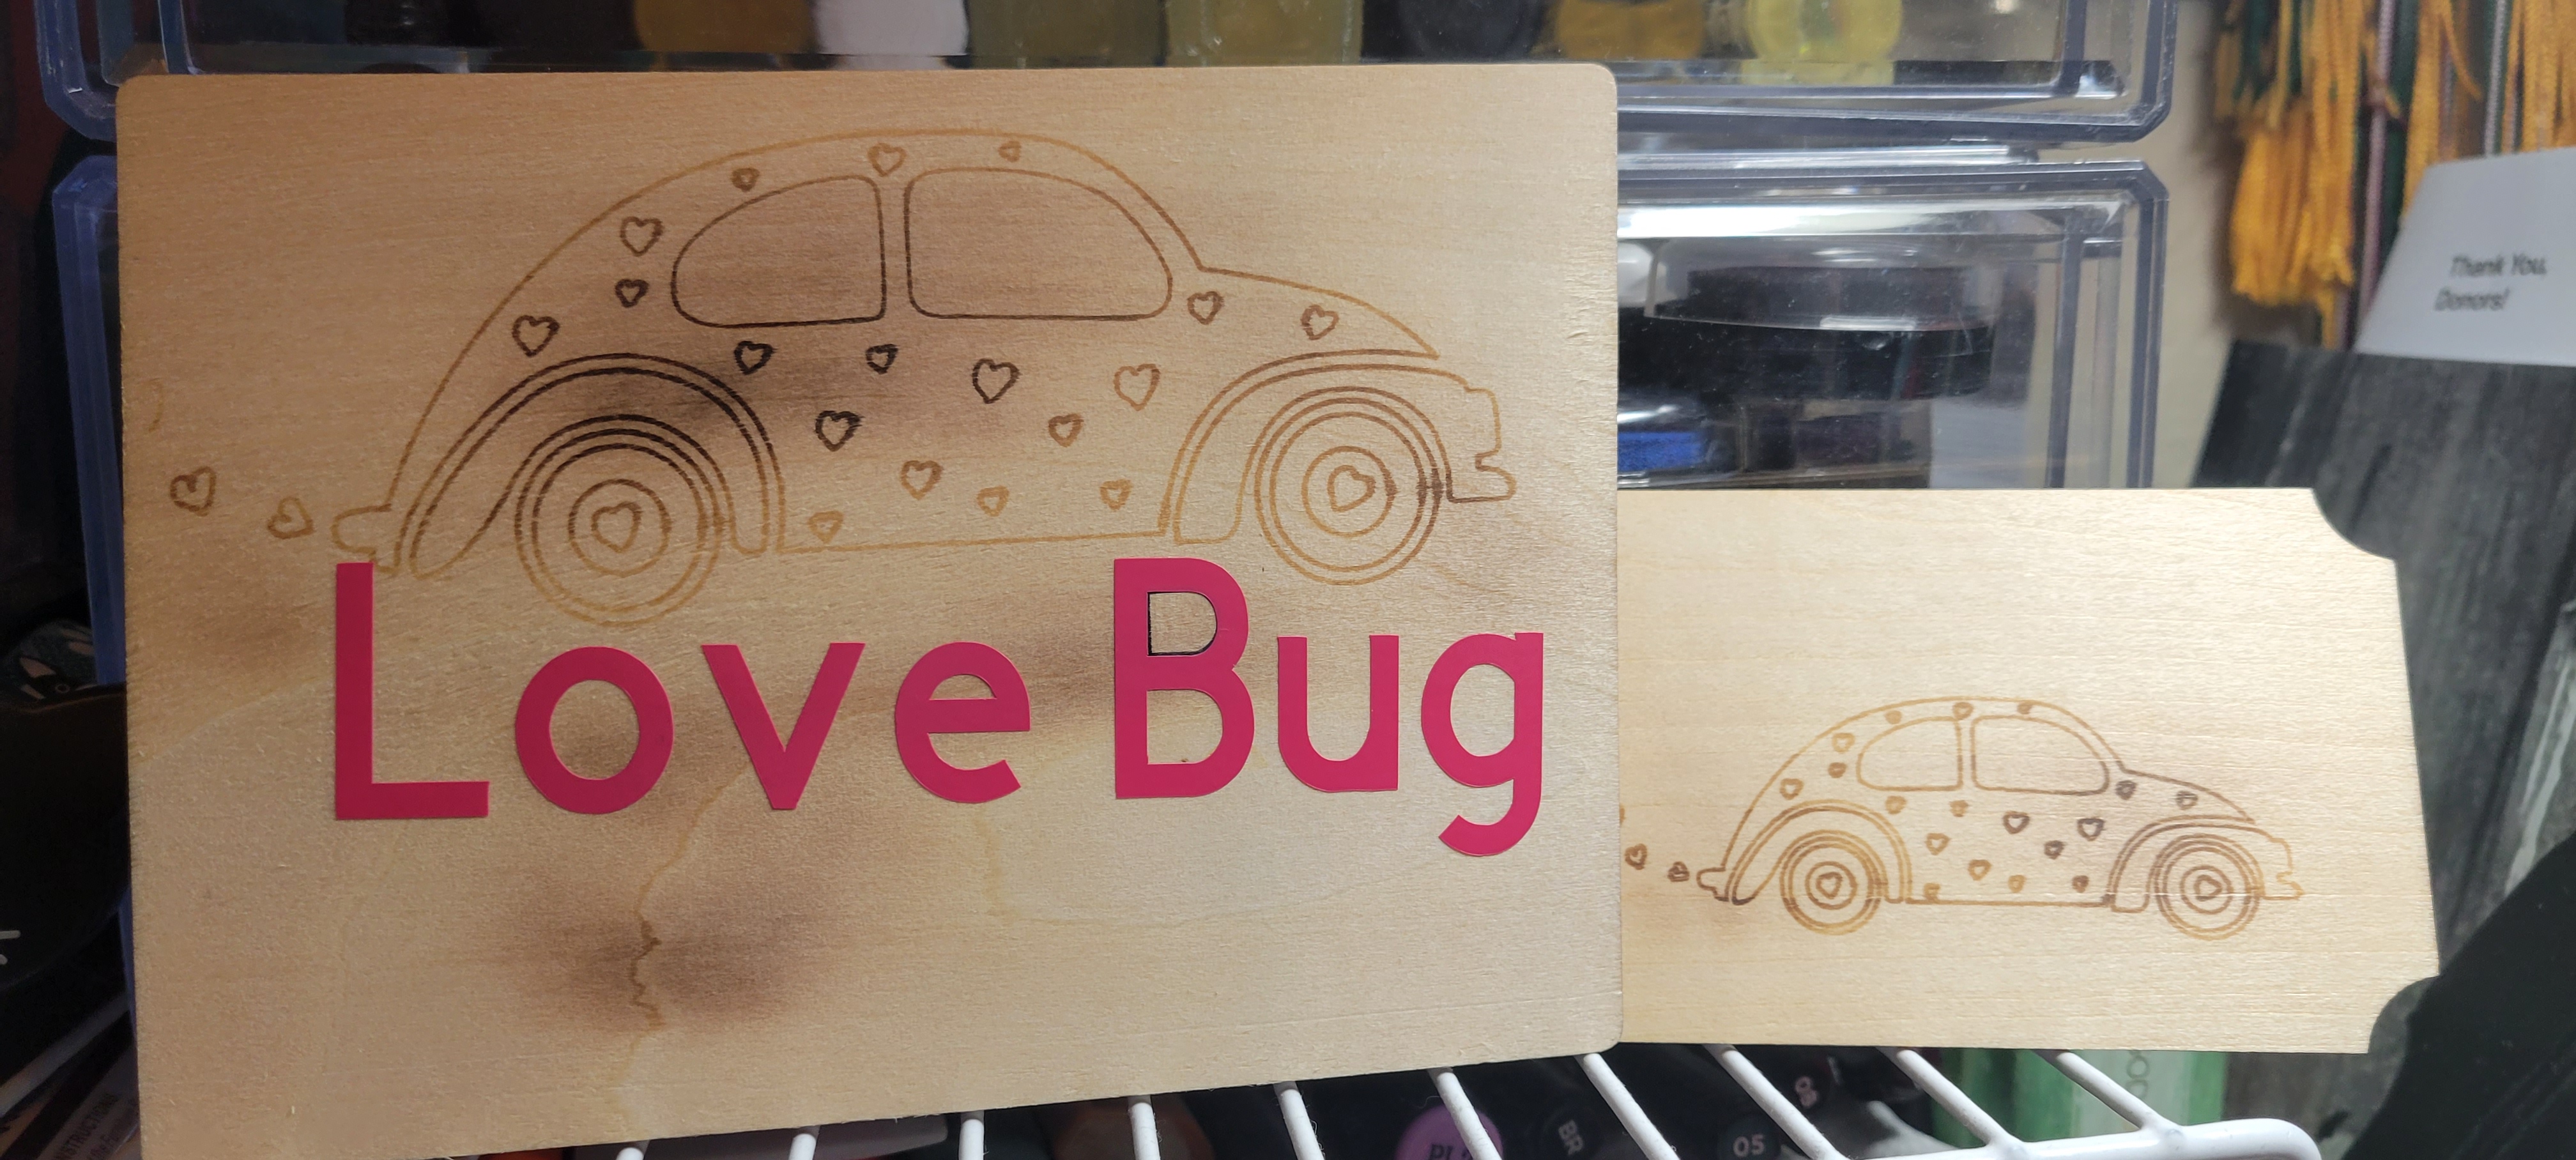
I marked the design on the wood with my singe pen in the Maker, then used the heat gun!
When you use a heat gun make sure its a real heat gun and not just an embossing gun. They are not all created equal. Give it a try but i've heard they don't work as well, it needs to be super hot.
I stole the first heat gun from my husband to use for sublimation and heat wrap. He then stole it back and accidentally ran it over so this is my new new heat gun. I got it at Harbor Freight and it was pretty inexpensive.

I started burning the wood!

WOW looks great but hmmm I want to add something else.

I put my mat back in and started the machine to find I was getting a red blinking power button and it stopped! ahhhh. I googled and it wasn't good. I was scared I broke the Cricut. I finally thought, I wonder if its being weird because the wood is warped. You can tell the wood is warped so I just cut a vinyl decal out and put it on the wood. My Cameo wouldn't care if the wood was warped and it would just keep going.
The red power button freaked me out a little bit. The cricut would be starting to write and then all of a sudden it would stop and the power button would turn red. I was like.....ummmm what is this????

You can see the wood warped when I used my heat gun so I shouldn't have put it back through.

This is done. I think it turned out pretty cute.

I sent in a brand new wood pc and it worked. whew! Crisis averted! I really like the singe pen and I think you all should get it and use it. Look how cute these turned out. I plan on making many many more.
It wasn't that hard to line up but I think it takes some practice. There are some tips out there like drawing a square the size of the item using it then hiding it before you cut. I did mess something up trying to line it up and that happens. Just try again.
Thanks for crafting with me. If you have any tips, comment! Make sure to subscribe to my blog and follow me on Instagram.
www.instagram.com/imginbugcrafter
www.ImGinBugCrafter
💖ImGinBugCrafter
Comments
Post a Comment