Make UV resin stuff with me!
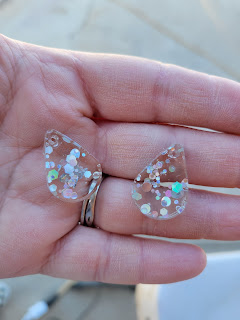
I've had all this resin stuff for over a year. When I decided to make glitter tumblers, I bought a lot of other resin molds and things so that I could make resin items. Well, shockingly I never did. That was a year ago. Everything turned out really nice!
The kits were super inexpensive and came with all kinds of stuff including the light, a small bottle of resin, molds, glitter, and well here it is.For UV resin you need a UV light to cure the resin. This set came with one and I pulled out a gel UV light for my nails and that will work too.
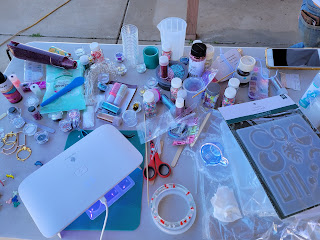
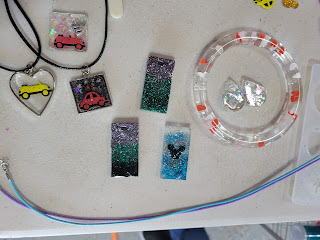
This is a pic of the table. You can see all the stuff I drug out to use for the project. You can use shaker bits, glitters, alcohol inks, little trinkets, all kinds of stuff from other crafts you may already do. A lot of your other craft supplies can be used for this project, check out what you already have.
Really the things your absolutely need are below:
- UV light 4 to 24 watts.
- The smaller the watt the longer it will take to cure
- UV Resin
- You can find this at big box stores but you will pay a premium
- The one that came with the kit worked just fine and it was included in the kit
- The bottles are noted in grams so I would go with as much as you can get. Trust me you will want to have more!
- Glitter, shaker bits, metal trinkets, really anything you want to put in the resin.
- If you use paper or stickers, you must seal them with either a few coats of Mod Podge or spray paint.
- You can use vinyl without any sealer, you will want to just put more UV resin on top of the vinyl and seal with the light.
- Heat Gun or even a BBQ lighter
- This will pop bubbles but use sparingly. You can also just use a tooth pick to pop them before you cure.
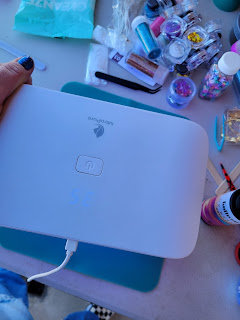
- The UV light pictured below was a Gel nail UV light not the one with the kit. I liked this one better because it cures faster 25 watt and its larger so it will accommodate larger pcs.
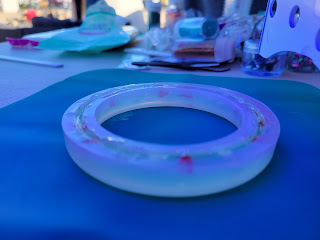
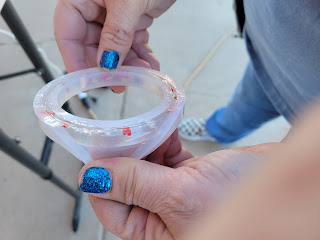
- Super large pcs may just need to be used with regular resin plus UV resin is expensive even the bracelet was kinda too large. It took half the bottle that came with this kit.
- Larger pcs may not cure, so make sure you are using UV for mostly smaller items.
- You will want baby wipes or alcohol, use these to wipe off any item that is not silicone so that the resin doesn't permanently stick to it.
- Gloves, you really shouldn't be using this stuff without gloves to protect your skin. Also, do this in a well ventilated area. This is why I was outside. (Come to find out, being outside isn't a good idea with the UV rays, UV rays can get into the shade and start to cure your resin.)
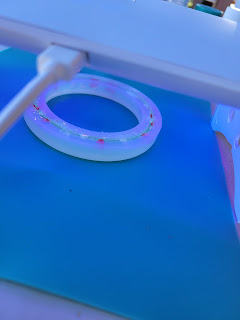
Its really easy. First I wanted to make a bracelet for my daughter for Valentines day.
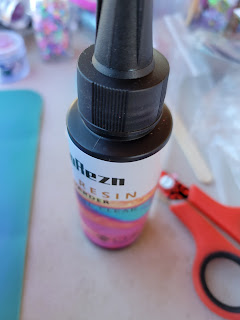
You take the resin, do not shake ( we do not need more bubbles )

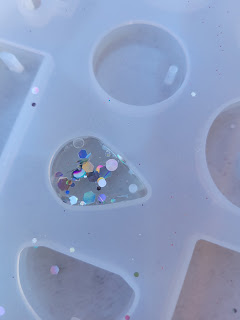
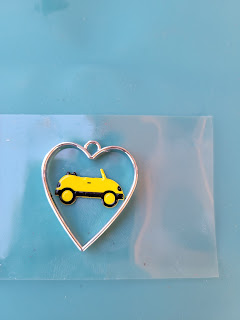
To use bezels you just put a piece of packing tape down, sticky side up. Then lay your filler item down (yellow beetle), then take the heart, center the beetle inside and make sure its stuck really good. Fill your item with glitter, or whatever, then put in your resin, cure as normal (both sides) and its done! I noticed the brad created an air pocket underneath. Just put some resin down on the tape before you lay your beetle on, or add more later on the back over the brad where it isn't fully filled with resin. Its really easy to do these.
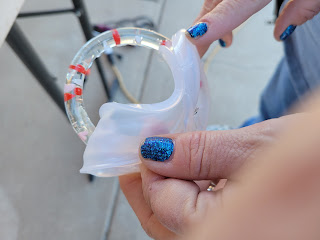
If you get too much resin and you don't like it, sand it down, dust it off, and just put more resin on and re cure. I made this out of a brad I had in my scrapbook stash. We clipped off the back with wire snippers. You can use scissors but you might nick up your scissors.
This was a super fun kit, sure I added stuff from home, but that is the fun part.
I hope you enjoyed the blog on UV resin. I think next I'll tackle UV resin pens! I'll also be writing a blog on regular resin soon. I am sure there is a lot more to learn, if you have played with any of this, please leave me comments with tips.
Check out my Instagram at www.instagram.com/imginbugcrafter and please subscribe to my blog. www.imginbugcrafter.com
💓ImGinBugCrafter
Comments
Post a Comment