Have you thought about joining Annie's card of the month club but wasn't sure? I am going to unbox and make my first card kit of the month with you.
First, the package came fast. I had it within a week! I had a promo code so I was able to purchase the first kit for around 11.00 shipping included. It came in this cute envelope decorated in craft supplies.
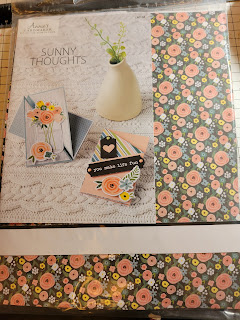
I opened the envelope and pulled this out. It looks like it has quite a few things inside.
An instruction booklet.

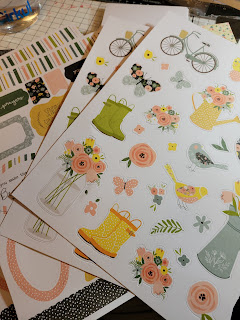
a bunch of die cuts
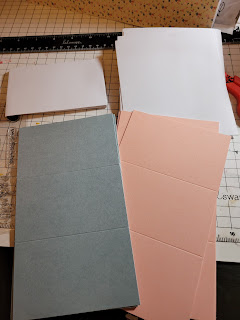
Envelopes/Tri Fold cards that measure a finished size of 2.5x4.25 inches. Smaller than I would like, I'm more of a standard A2 card girl.
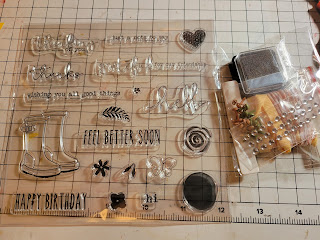
A nice sized stamp set with ink, bakers twine, some ribbon, brads, and some gems.
If you are new to crafting there are few things you need in order to use this kit.
Additional Supplies needed:
- Scissors or paper cutter
- I would suggest a paper cutter, they usually have a ruler on them and are great for making cards
- Tape or glue
- I would get some tape and glue (Tombow) and some pop up dots at the dollar store to pop out the die cuts.
- Stamp block
- I've been known to use whatever flat surface I can find
- Black Ink
- The kit came with a small ink pad but I would suggest a nice black in pad such as the Close to My Heart Intense black. This one in particular can be colored over and not smudge.
- Pencil
- If you have a paper cutter this is not needed
- Ruler
- If you have a paper cutter this is not needed
- Bone Folder
- You can use your hand to fold the card.
- Piercing tool
- Use the tip of your scissors if you do not have this.
With that said I have noted other options above so that you do not need all of the supplies listed.
This kit is perfect for a new card maker that does not own a die cut machine as it comes with 4 sheets of precut die cut images.
I am going to start at the beginning of the card kit and read step by step to complete the first card, then provide a review for you.
If a booklet is not your thing and you would rather watch a video, there is a link to videos for each card kit.
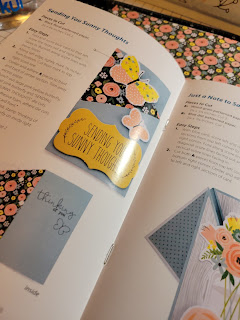
Page 1
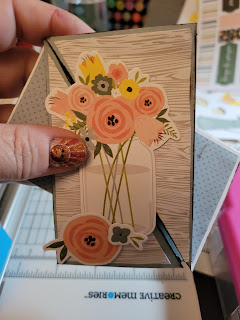
"You Make Life Fun" Card

Seems pretty simple.
Cut a couple pcs of paper and adhere, add your embellishments.
I personally do not like small cards like this and prefer larger A2 cards but it was not very hard to put together. I also made my card opposite LOL but, it was fun and super easy to put this card together.
This is my finished card:

Card 2 "Sending you Sunny thoughts"


Card 3 "Just a Note to say Hello"

I inked the sides with walnut ink to give it more of a rustic look.
Card 4

My Card:

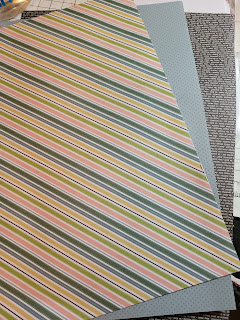
I like this card kit, I wish the cards were larger but you can always use the same paper, die cuts, and everything in this kit on A2 cards.
Below are all the cards I created with this kit. The A2 cards I created were done with this kit with the exception of the white card. I used my own cardstock for that.
I really liked the card kit. It gave me the opportunity to use their templates and gave me some creative liberties as well. I like card kits because this may not be something I would normally use or do but you learn new techniques and ways to use patterned paper.


I hope you like the cards I made. I will post the next card kit I get too. Let me know in the comments how you liked my cards and what you like most about card kits.
Happy Crafting!
💓ImGinBugCrafter
www.instagram.com/imginbugcrafter
www.imginbugcrafter.com
Comments
Post a Comment